Introduction
Overview
Peer-to-peer call, also known as IP call or IP direct call, refers to direct calling between two terminal devices without third-party equipment or servers. It is the simplest way to achieve audio and video communication with low cost and easy configuration, but it only works in a LAN and cannot cross different networks.
Applicable Models
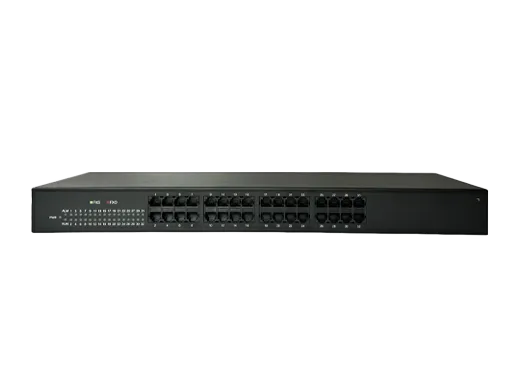
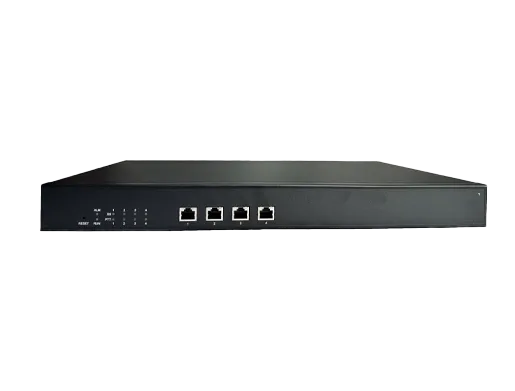
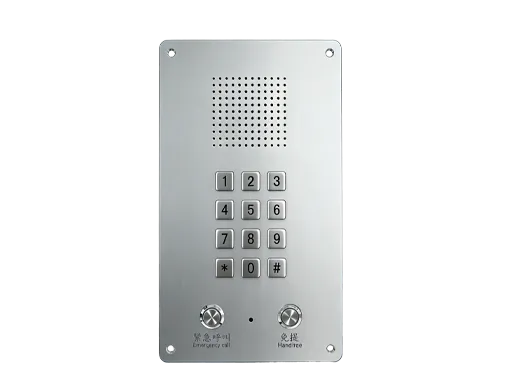
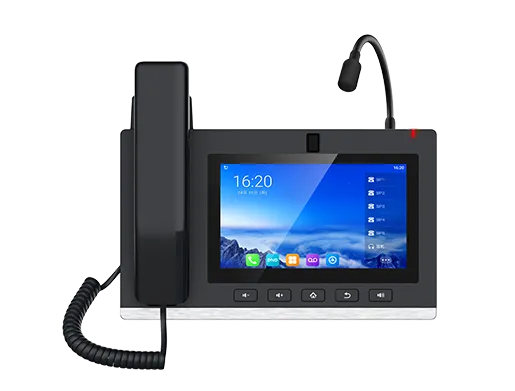
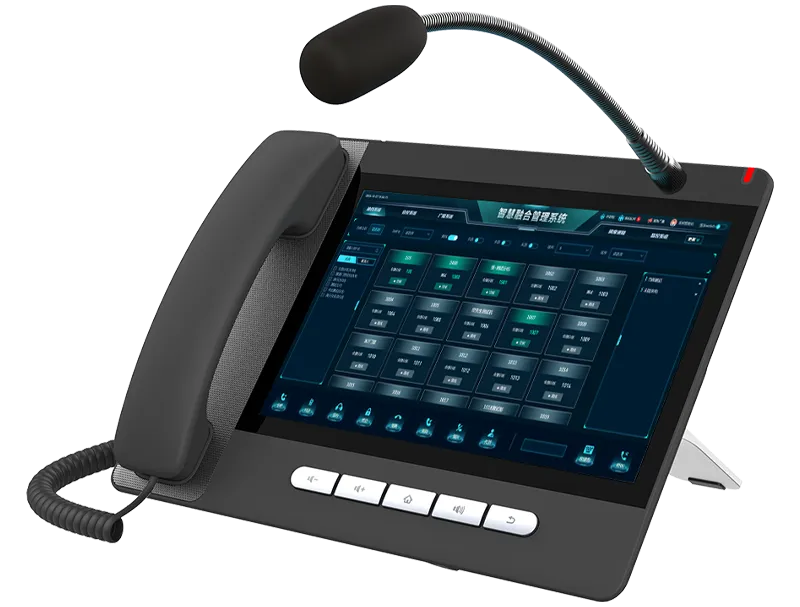
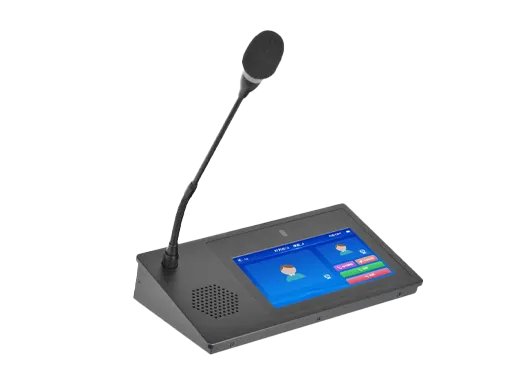
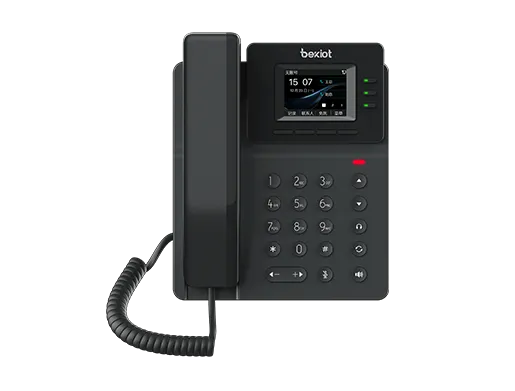
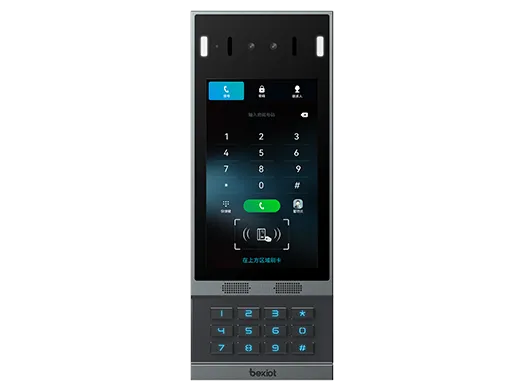
IP Phones: BF600S, BX7A.
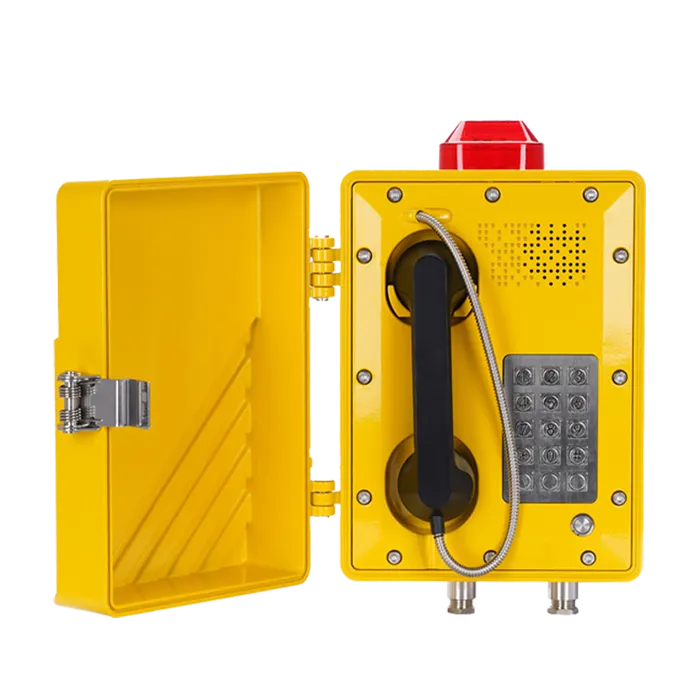
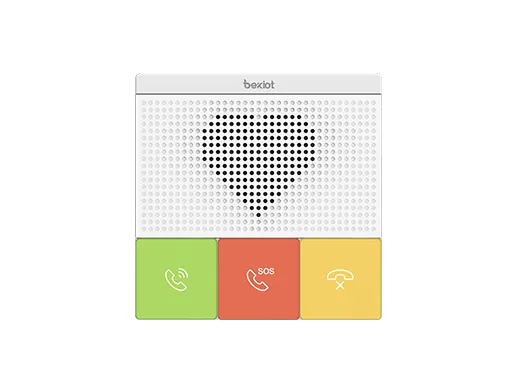
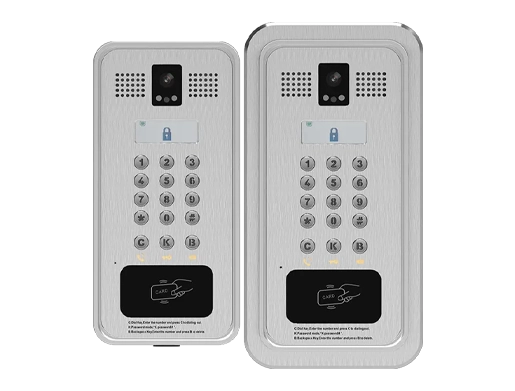
Industrial Devices: BHP-SOS16V, BHP-SOS10V, BHP-SOS10D.
Prerequisite Preparation Tools
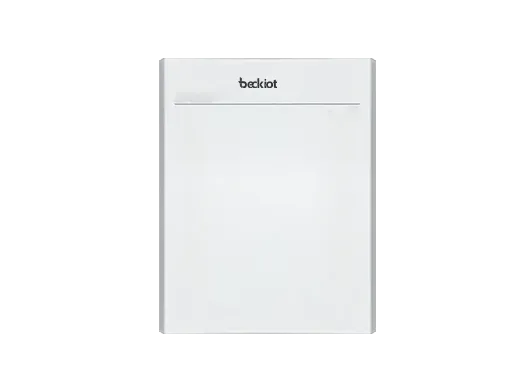
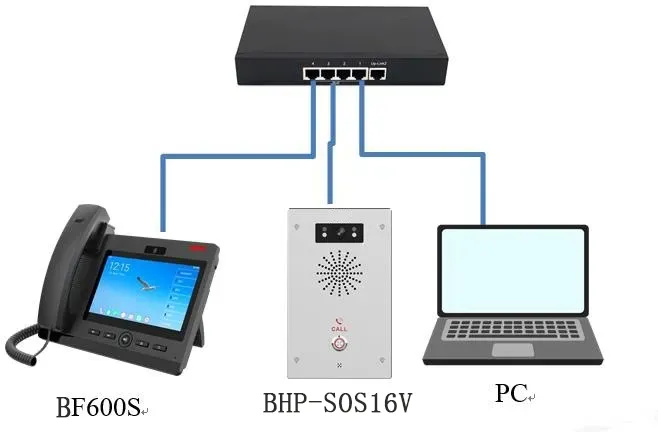
① One BX7A/BF600S IP phone, one BHP-SOS16V/BHP-SOS10V/BHP-SOS10D intercom, one PoE switch (or DC power supply). Connect all devices to the switch.
② One debugging computer connected to the same switch to ensure network connectivity between the computer and devices.
Device and Computer Connection Diagram
Connect the BHP-SOS16V/BHP-SOS10V/BHP-SOS10D intercom and BX7A/BF600S IP phone to the switch, and connect the computer to the same switch to ensure normal network communication. The connection diagram is shown below.
Peer-to-Peer Configuration Method
Different methods can be used for peer-to-peer calls between IP phones and intercoms in different scenarios. This section details the shortcut configuration for peer-to-peer calls.
Set Static IP Address
For peer-to-peer calls, terminal devices must be configured with static IP addresses. Each terminal on the network must be assigned a different IP address on the same subnet (same network address, different host addresses). The detailed configuration steps are as follows:
2.1.1 Query IP Address
① Intercom Devices (BHP-SOS16V/BHP-SOS10V/BHP-SOS10D): DHCP is enabled by default.
- If the network supports DHCP: Press and hold the DSS key for about 5 seconds in standby mode. After hearing the prompt tone, press the DSS key again, and the device will broadcast the current IP address.
- If the network does NOT support DHCP: Press and hold the DSS key for about 5 seconds in standby mode. After hearing the prompt tone, press it quickly 3 times to switch the network mode. The device will broadcast the IP address after successful switching.
② IP Phone Devices:
- If the network supports DHCP: Tap the Settings button on the BX7A/BF600S screen in standby mode. Go to Status --- General --- IP Address to view the current IP.
- If the network does NOT support DHCP: Tap the Settings button on the screen. Go to Ethernet --- Network Mode --- select Static IP to set a static IP.
2.1.2 Configure Static IP Address
① Enter the obtained device IP in the browser to log into the Web UI of the IP phone and intercom. Default username and password are both admin. The login interface is shown in Figure 2.
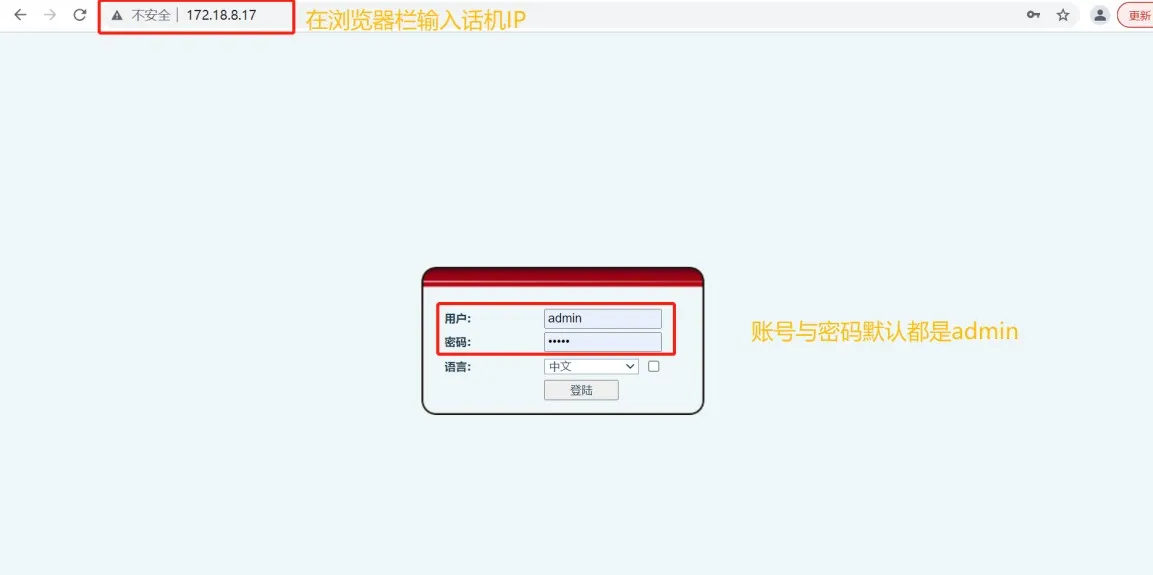
Figure 2 IP Phone Login Interface
② Enter the device Web UI, navigate to Network --- Basic --- IPv4 Settings, select Static IP, and configure the static IP parameters as shown in Figure 3.

Figure 3 Static IP Address Configuration
IP Phone Calling Intercom
In peer-to-peer mode, the IP phone can call the intercom. The shortcut configuration is detailed below:
① Enter the IP phone's IP in the browser and log into the Web UI (default admin/admin).
② Click the Shortcuts button to enter the shortcut configuration page. We use Shortcut 1 as an example, configure as shown in Figure 4.
- Type: Memory Key
- Name: Custom name (displayed on the screen)
- Value: Enter the intercom's IP address (e.g., 172.18.8.24)
- Subtype: BLF/NEW CALL
- Line: SIP1
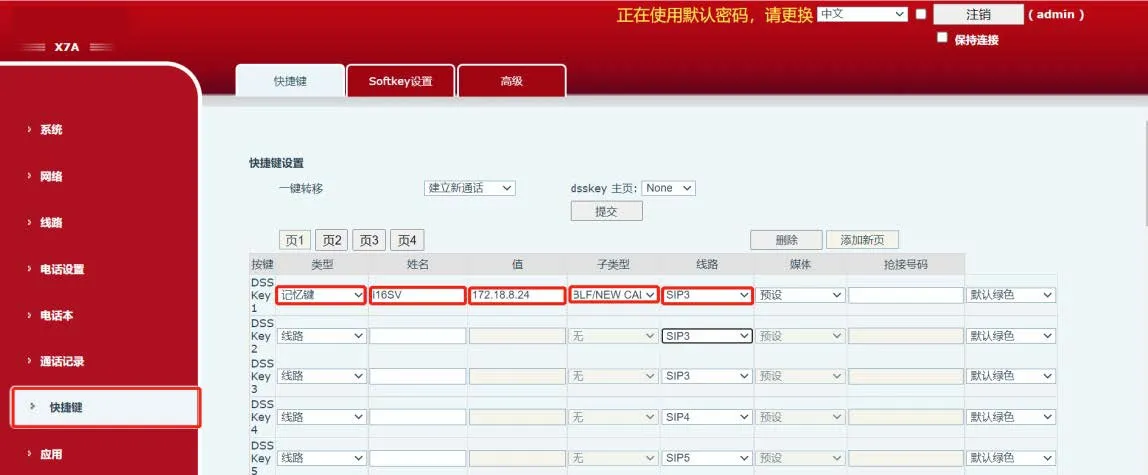
Figure 4 IP Phone Shortcut Configuration
2.2.2 Notes
① If the IP phone cannot call the intercom, modify the intercom configuration:
Log into the intercom Web UI, go to Intercom Settings -- Function Settings -- Basic Settings, and check Allow IP Call as shown in Figure 5.
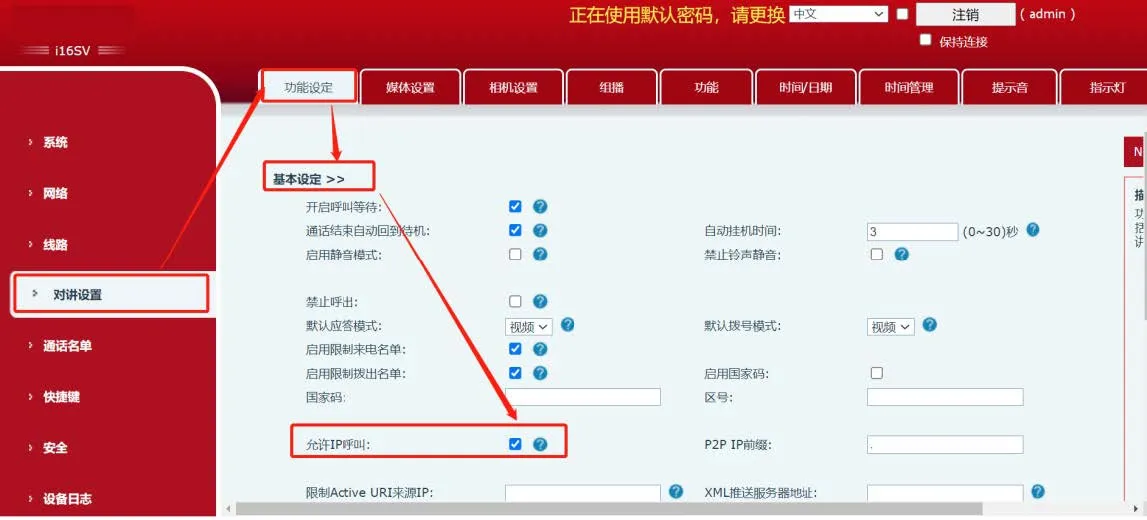
Figure 5 Intercom Allow IP Call Configuration
Intercom Calling IP Phone
In peer-to-peer mode, the intercom can call the IP phone. The shortcut configuration is detailed below:
2.3.1 Shortcut Configuration
① Enter the intercom's IP in the browser and log into the Web UI (default admin/admin).
② Click the Shortcuts button to enter the configuration page. We use Shortcut 1 as an example, configure as shown in Figure 6.
- Type: Memory Key
- Name: Custom name
- Value: Enter the IP phone's IP address (e.g., 172.18.8.19)
- Subtype: BLF/NEW CALL
- Line: SIP1
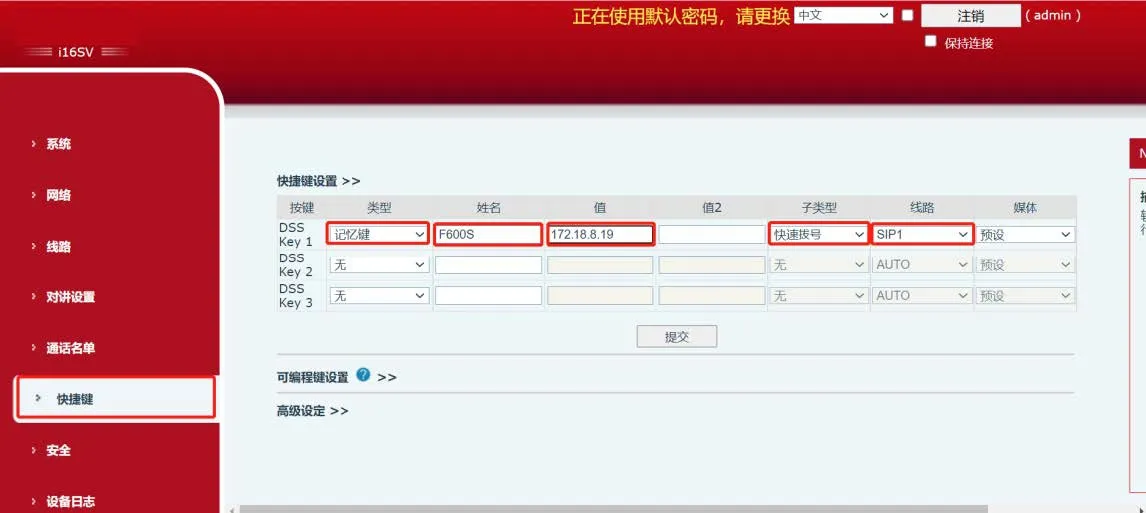
Figure 6 Intercom Shortcut Configuration
2.3.2 Notes
If you hear a busy tone when the intercom calls the IP phone, follow these steps:
① Log into the IP phone Web UI, go to Account -- SIP -- Global Settings, and uncheck Enable Strict UA Match as shown in Figure 7.
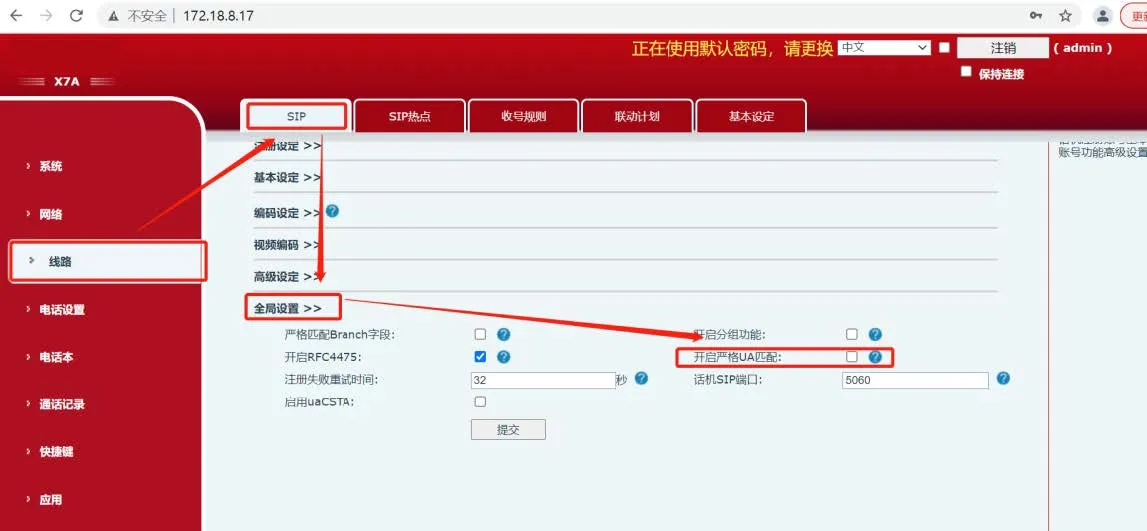
Figure 7 IP Phone Disable Strict UA Match
② Log into the intercom Web UI, go to Intercom Settings -- Function Settings -- Basic Settings, and uncheck Disable Outgoing Calls as shown in Figure 8.
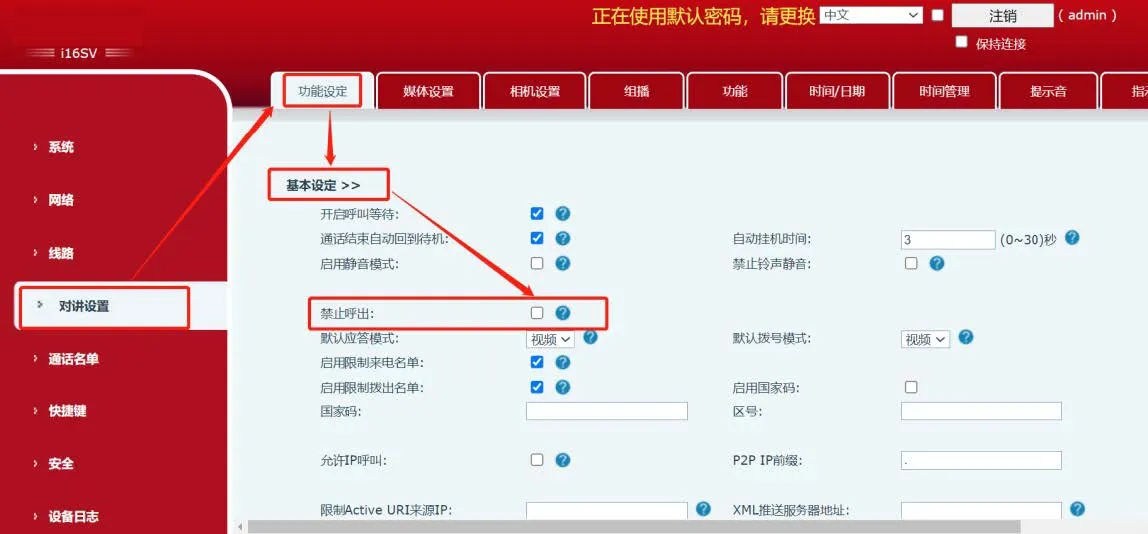
Figure 8 Intercom Disable Outgoing Call Restriction
③ After completing the above settings, the intercom can successfully call the IP phone.