Introduction
Overview
This article applies to industrial devices using the VxWorks operating system. The POST mode on SIP phones works like the BIOS on a computer, and the firmware is similar to the computer's operating system.
If a computer crashes, you can reinstall the OS. Similarly, if a phone fails to boot normally, you can use POST mode to upgrade and restore the system.
Applicable Models
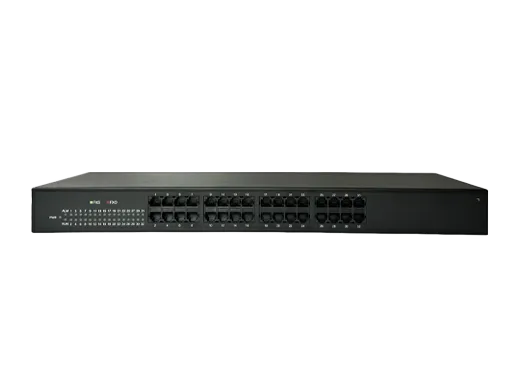
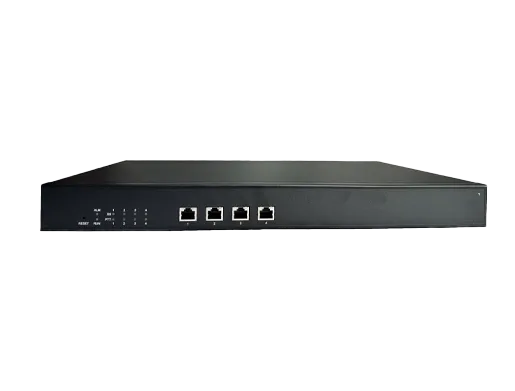
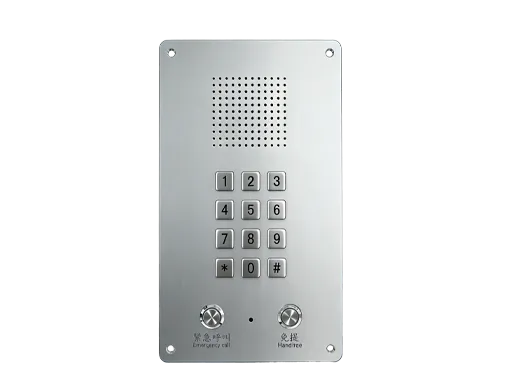
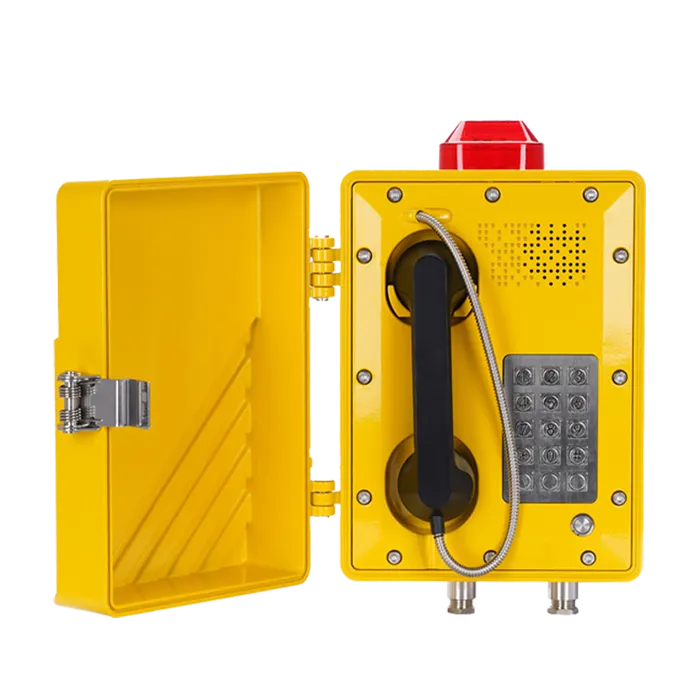
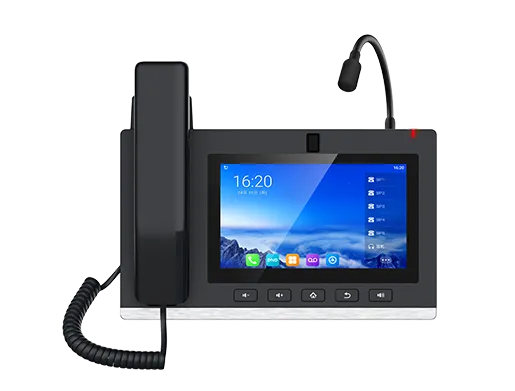
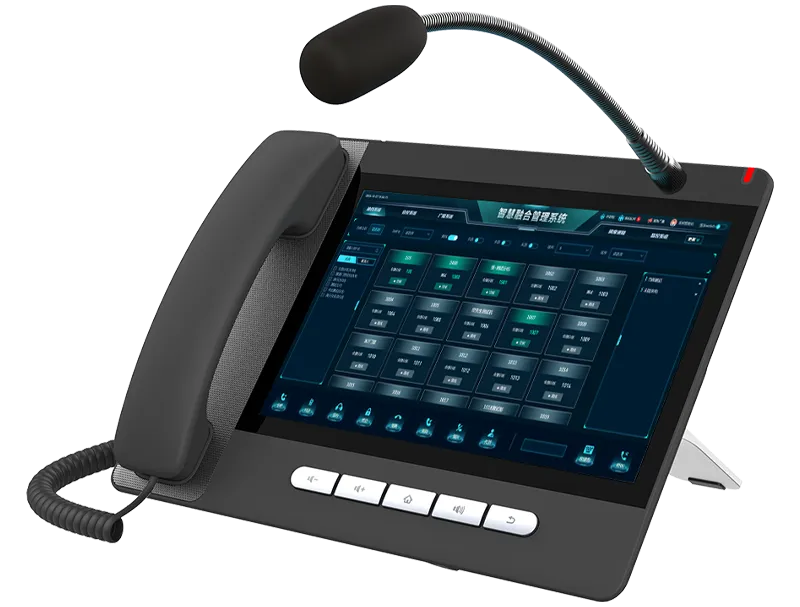
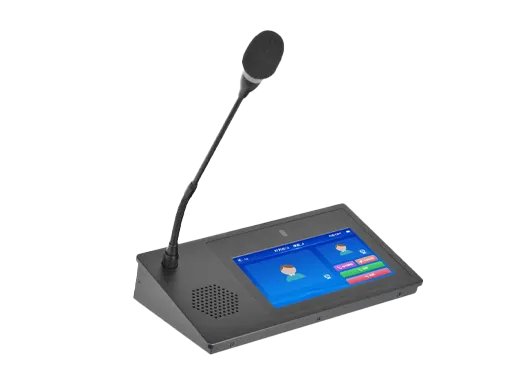
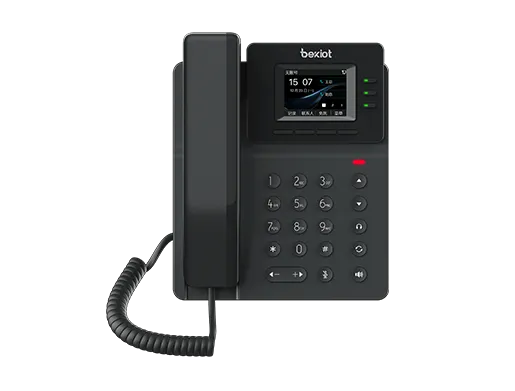
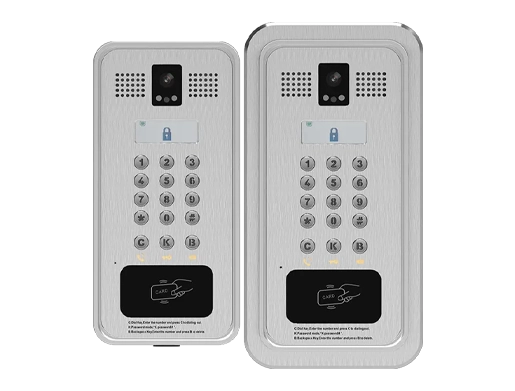
BHP-SOS12, BHP-SOS12V, BHP-SOS18, Bi20S, Bi30S, Bi31S, Bi23S, Bi32V, Bi33V, BK-ROIP-PA2.
POST Upgrade Preparation
Firmware Download & Preparation
Download the latest firmware for your device from:
https://www.fanvil.com/Support/download.html
If you are unsure which firmware to use or have a customized version, contact technical support.
Note: The firmware file MUST be in .z format. This is NOT a zip file and MUST NOT be unzipped.
FTP Server Configuration
FTP Tool: We use wftpd32 (other FTP software is also supported).
Download wftpd32: http://download.fanvil.com/HowTo/UpdateInPostMode/wftpd32.rar
Run wftpd32 on your PC.
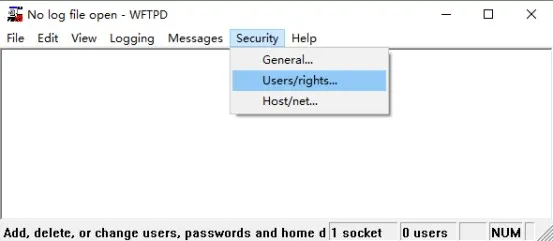
- Open Security Settings
Go to menu: Security → User/rights...
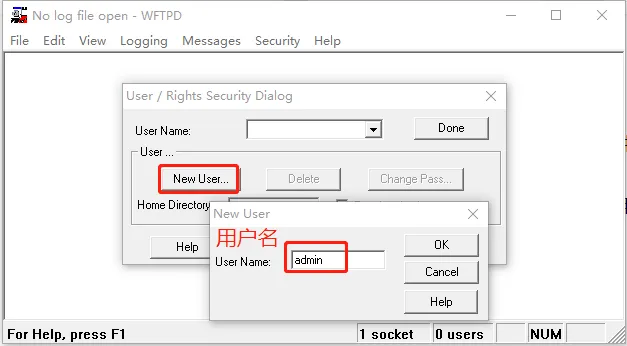
- Create a User
Click New User... and set a username and password (remember these for later).
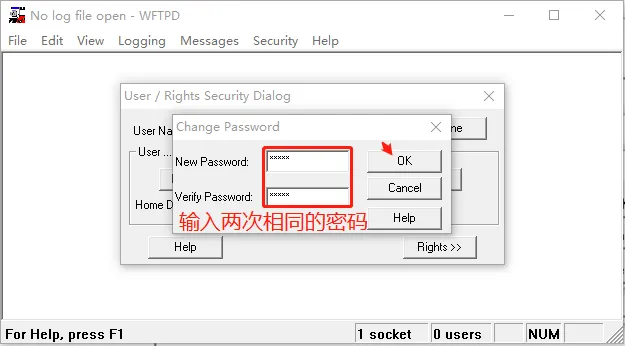
- Set Home Directory
Enter the folder path where your .z firmware is stored (do NOT include the filename). Click Done.

- Enable Logging (Optional)
Go to: Logging → Log Options, check Enable Logging.
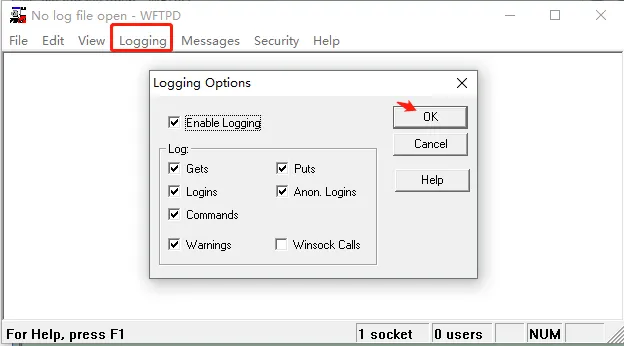
WARNING: DO NOT close the FTP server during the POST upgrade.
Terminal & PC Network Setup
- Enter POST Mode
Connect PC to the device's WAN port (same LAN). Reboot the device.
- For i12/i16V/i18S/i20S/i30S/i31S/i23S/i32V/i33V: Hold * + # for 10 seconds.
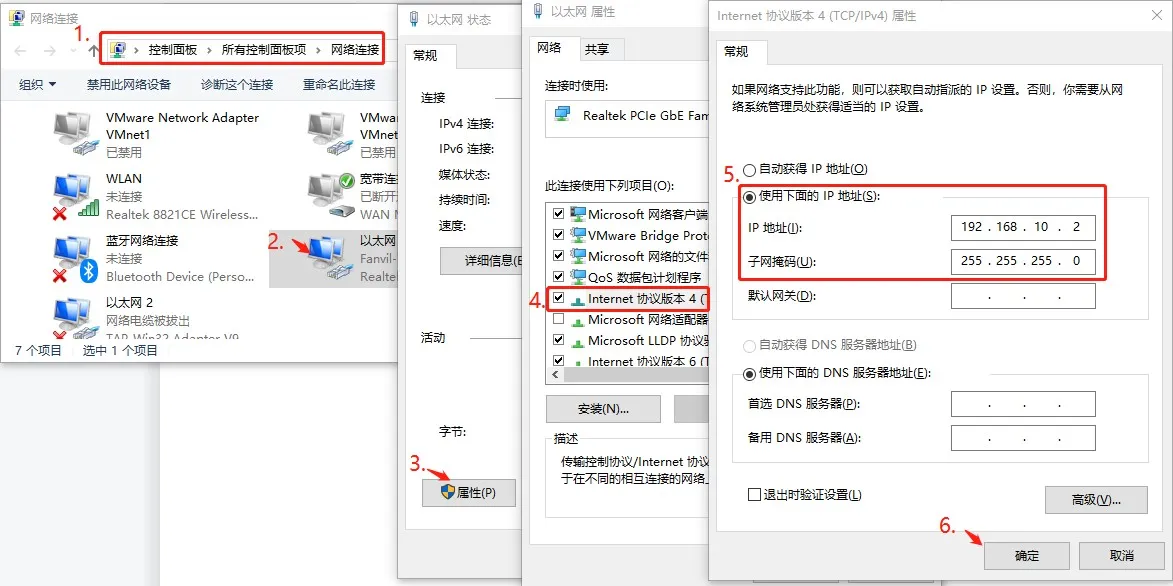
- For PA2: Hold Volume + + Volume – for 10 seconds. - Set PC Static IP
Set your PC IPv4 address to: 192.168.10.2
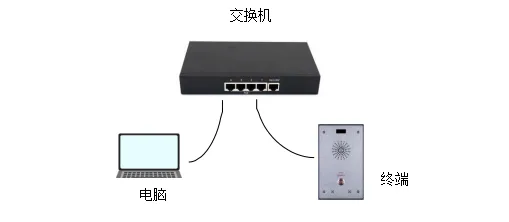
Device Connection Diagrams
Method 1: PC Directly Connected to WAN Port

Method 2: Same Local Network
POST Upgrade & Factory Reset
POST Upgrade Steps
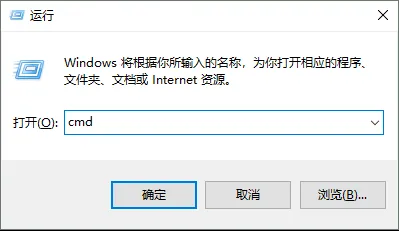
- Open Command Prompt
Press Win + R, type cmd, press Enter.
- Telnet to the Device
Run command: telnet 192.168.10.1
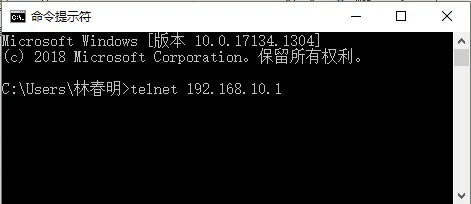
Note: If Telnet is not enabled, install it via Windows Features or use tools like PuTTY/SecureCRT.
- Start Upgrade
Enter 2 and press Enter. Input the following info (press Enter after each):
- Input server address: 192.168.10.2
- Input image name: xxx.z (your firmware file)
- Input user name: FTP username
- Input password: FTP password
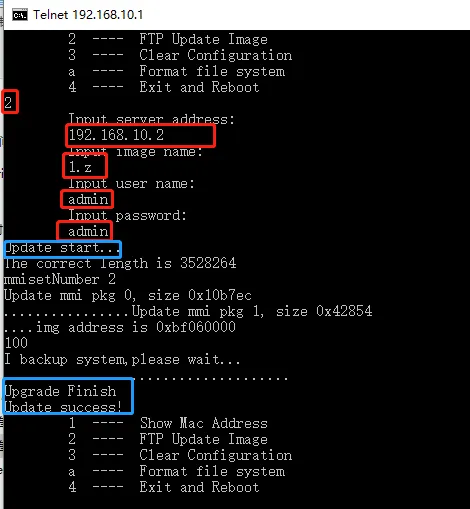
Note: Use only .z files. Show file extensions if needed.
- Check FTP Status
The FTP window shows download progress. Success message confirms completion.
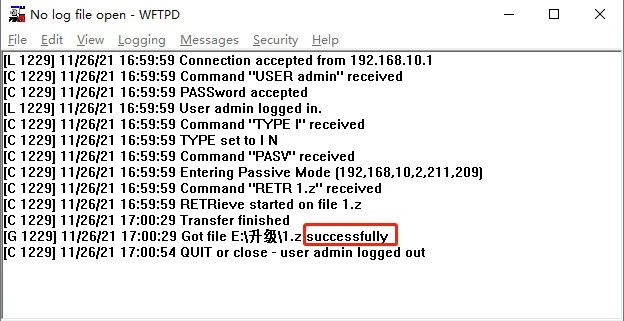
Note: If upgrade fails, disable PC firewall and retry.
How to Factory Reset
After successful upgrade:
- In POST mode, enter 3 to clear all configurations (keep power ON).
- Enter 4 to reboot the device.
After reboot, log into the web UI to verify firmware version and normal operation. Upgrade is complete.